Updated Send2UE Blender Plugin
- Jul 22, 2025
- 3 min read
Updated: Jul 24, 2025
Epic games used to maintain a plugin for Blender that allowed one click send to Unreal Engine called Send2UE. A few years later this has been abandoned by the slimmed down epic team but a lovely developer Josh Quake on Github has updated the codebase and it now works again under the new name, Blender Tools. The github is linked below, please show it some stars for SEO. https://github.com/poly-hammer/BlenderTools https://poly-hammer.github.io/BlenderTools/send2ue/introduction/quickstart/

Quick Start (from linked guide)
First thing you need to do is download the latest versioned zip file from the releases page under the Assets dropdown. The zip file name will start with send2ue.
Next install the addon in Blender. Go to Edit > Preferences then to the addons tab. Click install.

Go to the location where you downloaded your addon on disk and install the zip file.

Now search for the addon and activate it.

You'll notice when you activate it. This pipeline menu gets built.

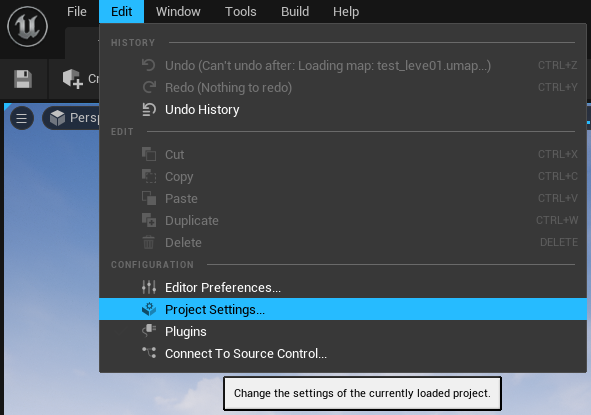
Next, you'll need to configure your unreal project (or verify that your project settings are already correct). So let's walk through an example with a new project. First, open Unreal and create a new project. Once your project is open, go to Edit > Plugins.

Search for the "Python Editor Script Plugin" and enable it. Also ensure that the "Editor Scripting Utilities Plugin" is already enabled.

If you are also working with groom assets and would like to export alembic files from blender as unreal groom assets, make sure to also have the plugins "Alembic Groom Importer" and "Groom" enabled.

Additionally, make sure the "Support Compute Skin Cache" setting is turned on in Project Settings > Engine > Rendering > Optimizations. This ensures grooms to render properly when bound to a skeletal mesh.

Once you have enabled the plugins and project settings, you'll be prompted to restart the editor. Go ahead and restart. Once you've restarted, go to Edit > Project Settings.
Search for "python" and then enable remote execution and set the Multicast bind address to 0.0.0.0 if you are not using a Windows machine, otherwise leave this set to 127.0.0.1. Now Send to Unreal will work with your new Unreal project.
For Unreal 5.5 and higher, the default FBX Importer should be set to use the Legacy FBX Importer. This can be done by changing the project's DefaultEngine.ini file to contain. [ConsoleVariables]
Interchange.FeatureFlags.Import.FBX=False

Another thing that is useful to enable under Edit > Editor Preferences

Search for "CPU", then under Editor Performance disable "Use Less CPU when in Background". That way unreal continues to update even when it is not the active application, which means the Unreal user interface will update constantly, and you will see your changes update without having to click on the Unreal Editor.

Now lets run through a basic example with the default cube in your Blender scene.

A simple test we can try in Blender to make sure this is working is move our cube to our Export collection.

Click Pipeline > Export > Send to Unreal.

On Windows, if you see a security alert, go ahead and allow Blender on your private network.
You should now see the cube in unreal under /untitled category/untitled asset/Cube.

Congrats, Send to Unreal is now working! To customize Send to Unreal to your needs, go to Pipeline > Export > Settings Dialog. Here you can customize the paths for exports and imports as well as the export and import settings, and validations.


Comments